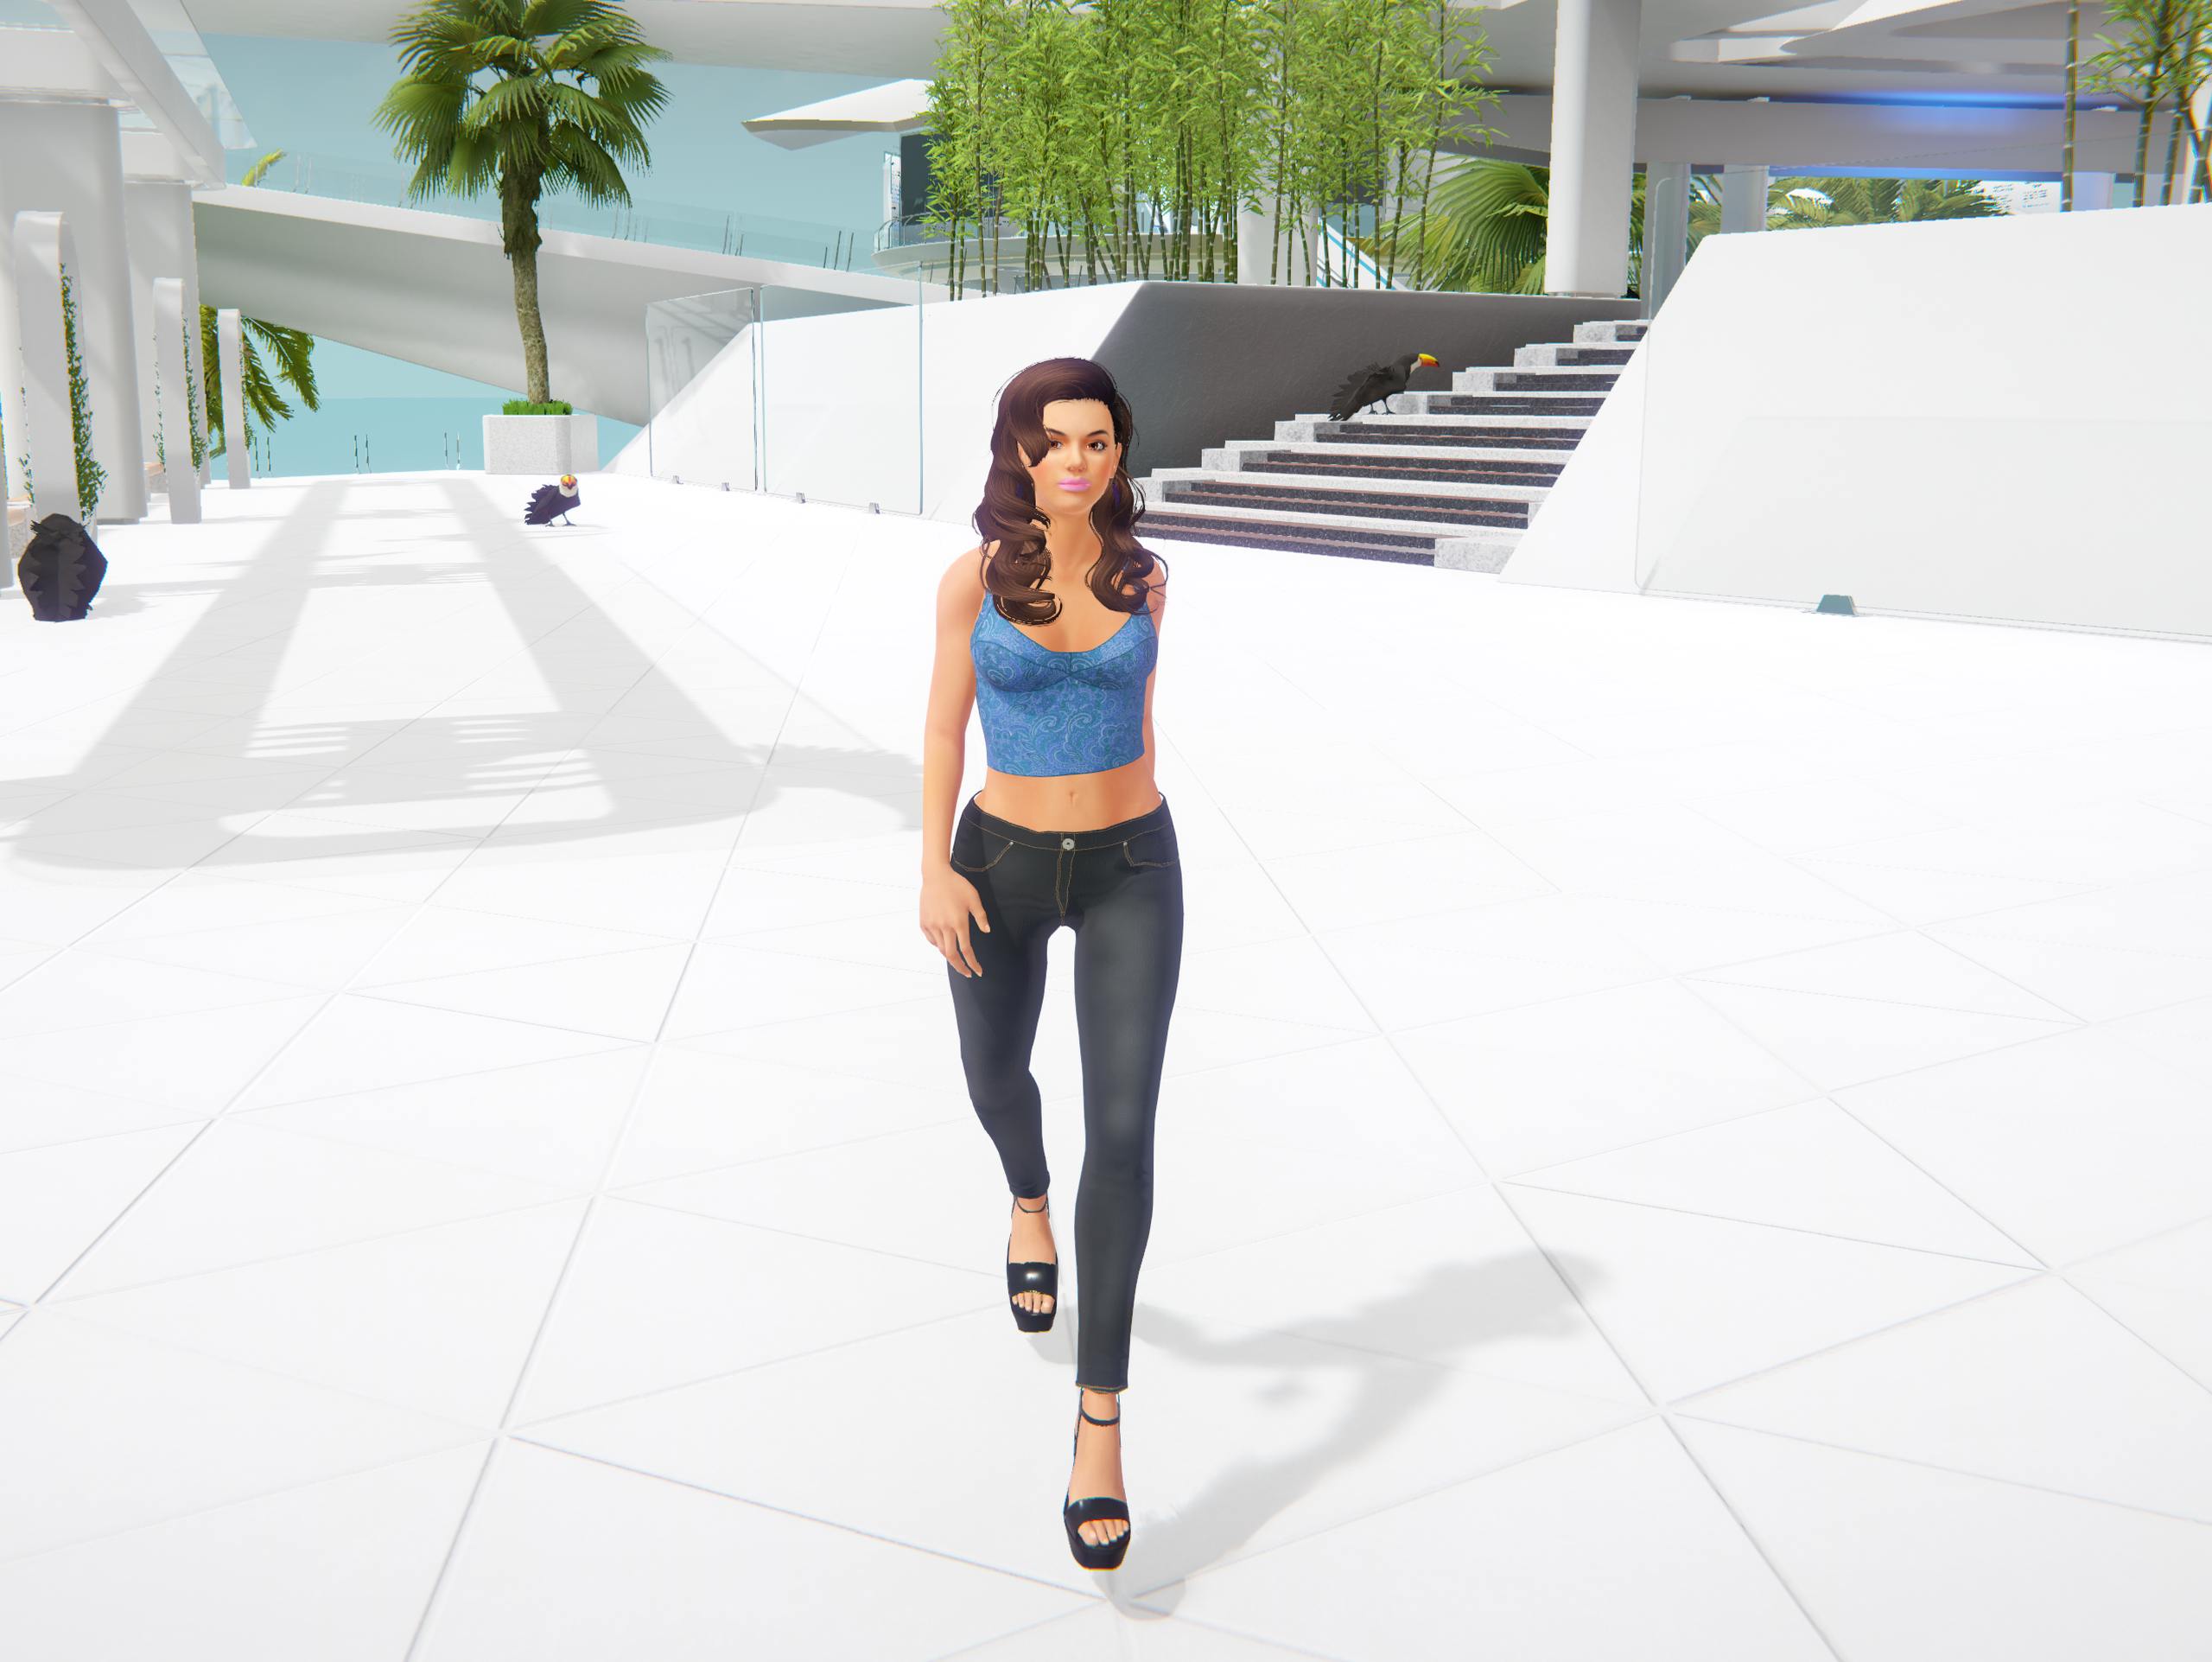
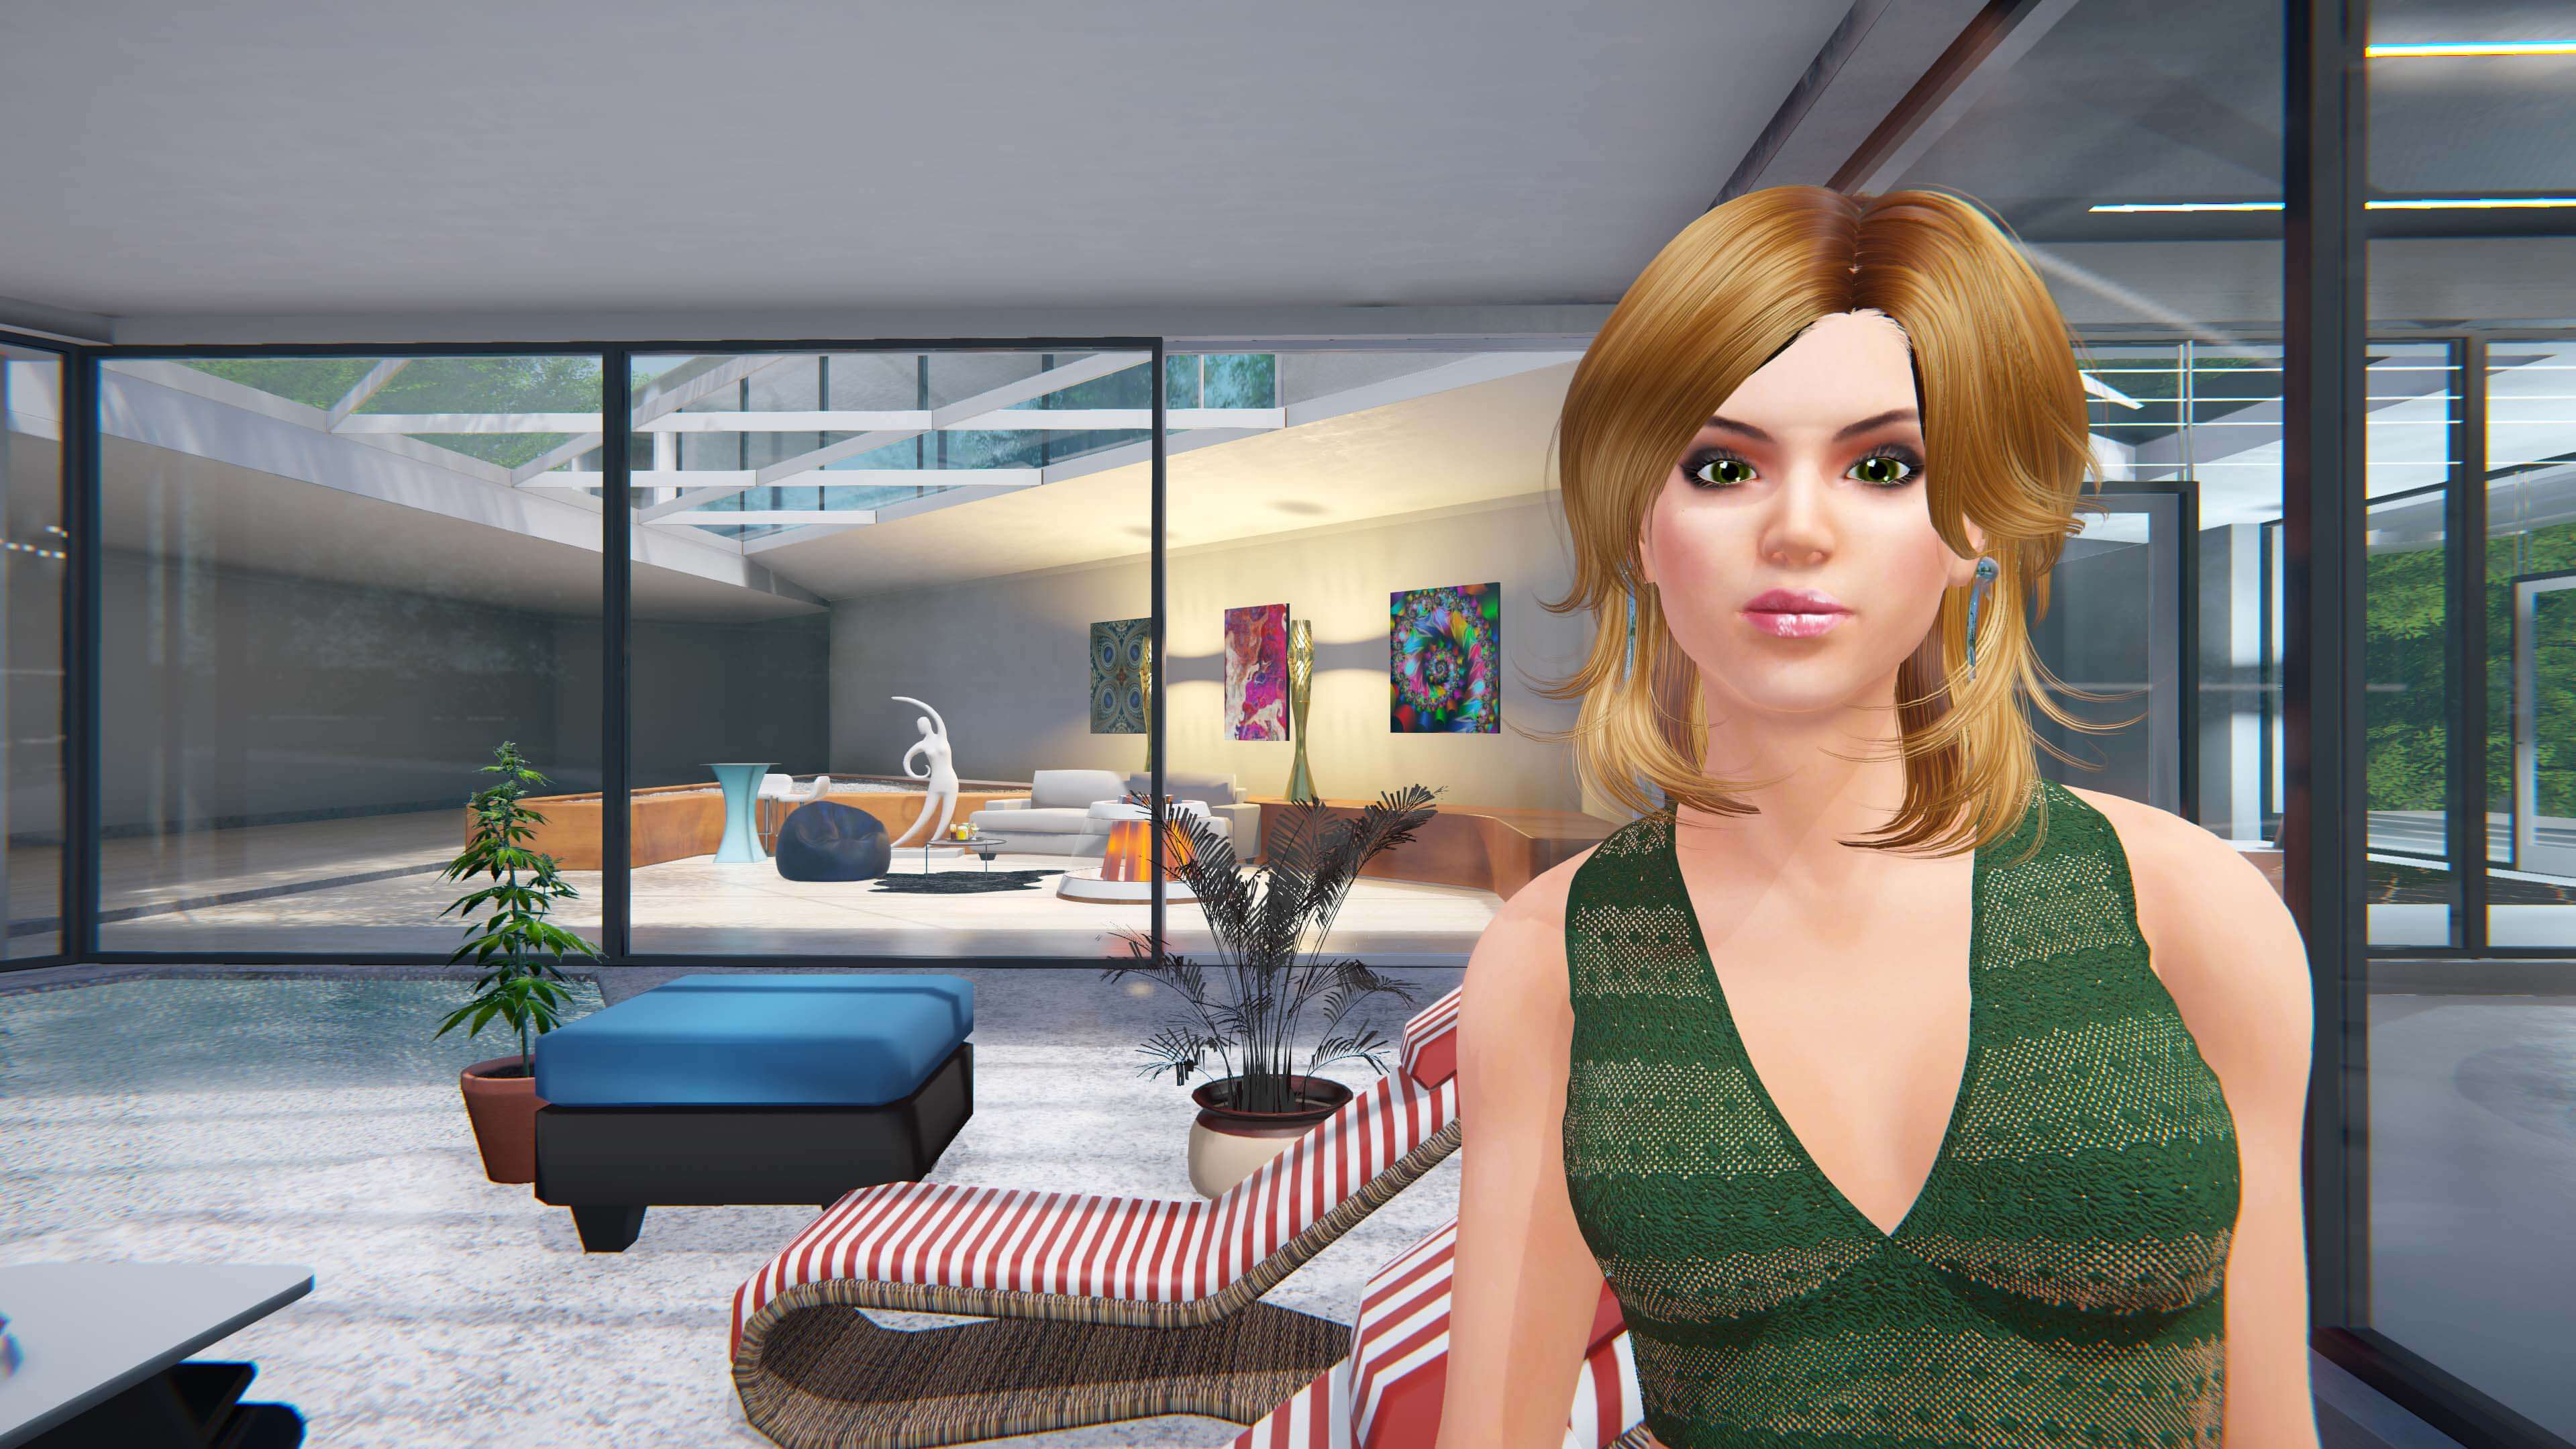
When you sign up to Sinespace, you choose a default avatar to start with when you log into the viewer. You can customize this avatar to be unique to you. To customize your avatar, click on the Outfit button at the bottom of the screen. There are lots of face and body sliders to create any look you want, as well as the feature to make multiple outfits, all with different looks!
To get new items for your avatar, click on the Shop button next to the Outfit button to buy clothing, accessories, hair and more.
You can find our short video on customising avatars on our YouTube channel here.


To move your avatar around, use the WASD keys on the keyboard. You can jump by pressing spacebar and even fly by pressing R (use R again to fly higher and C to fly lower and land). You can also hold down C to crouch.
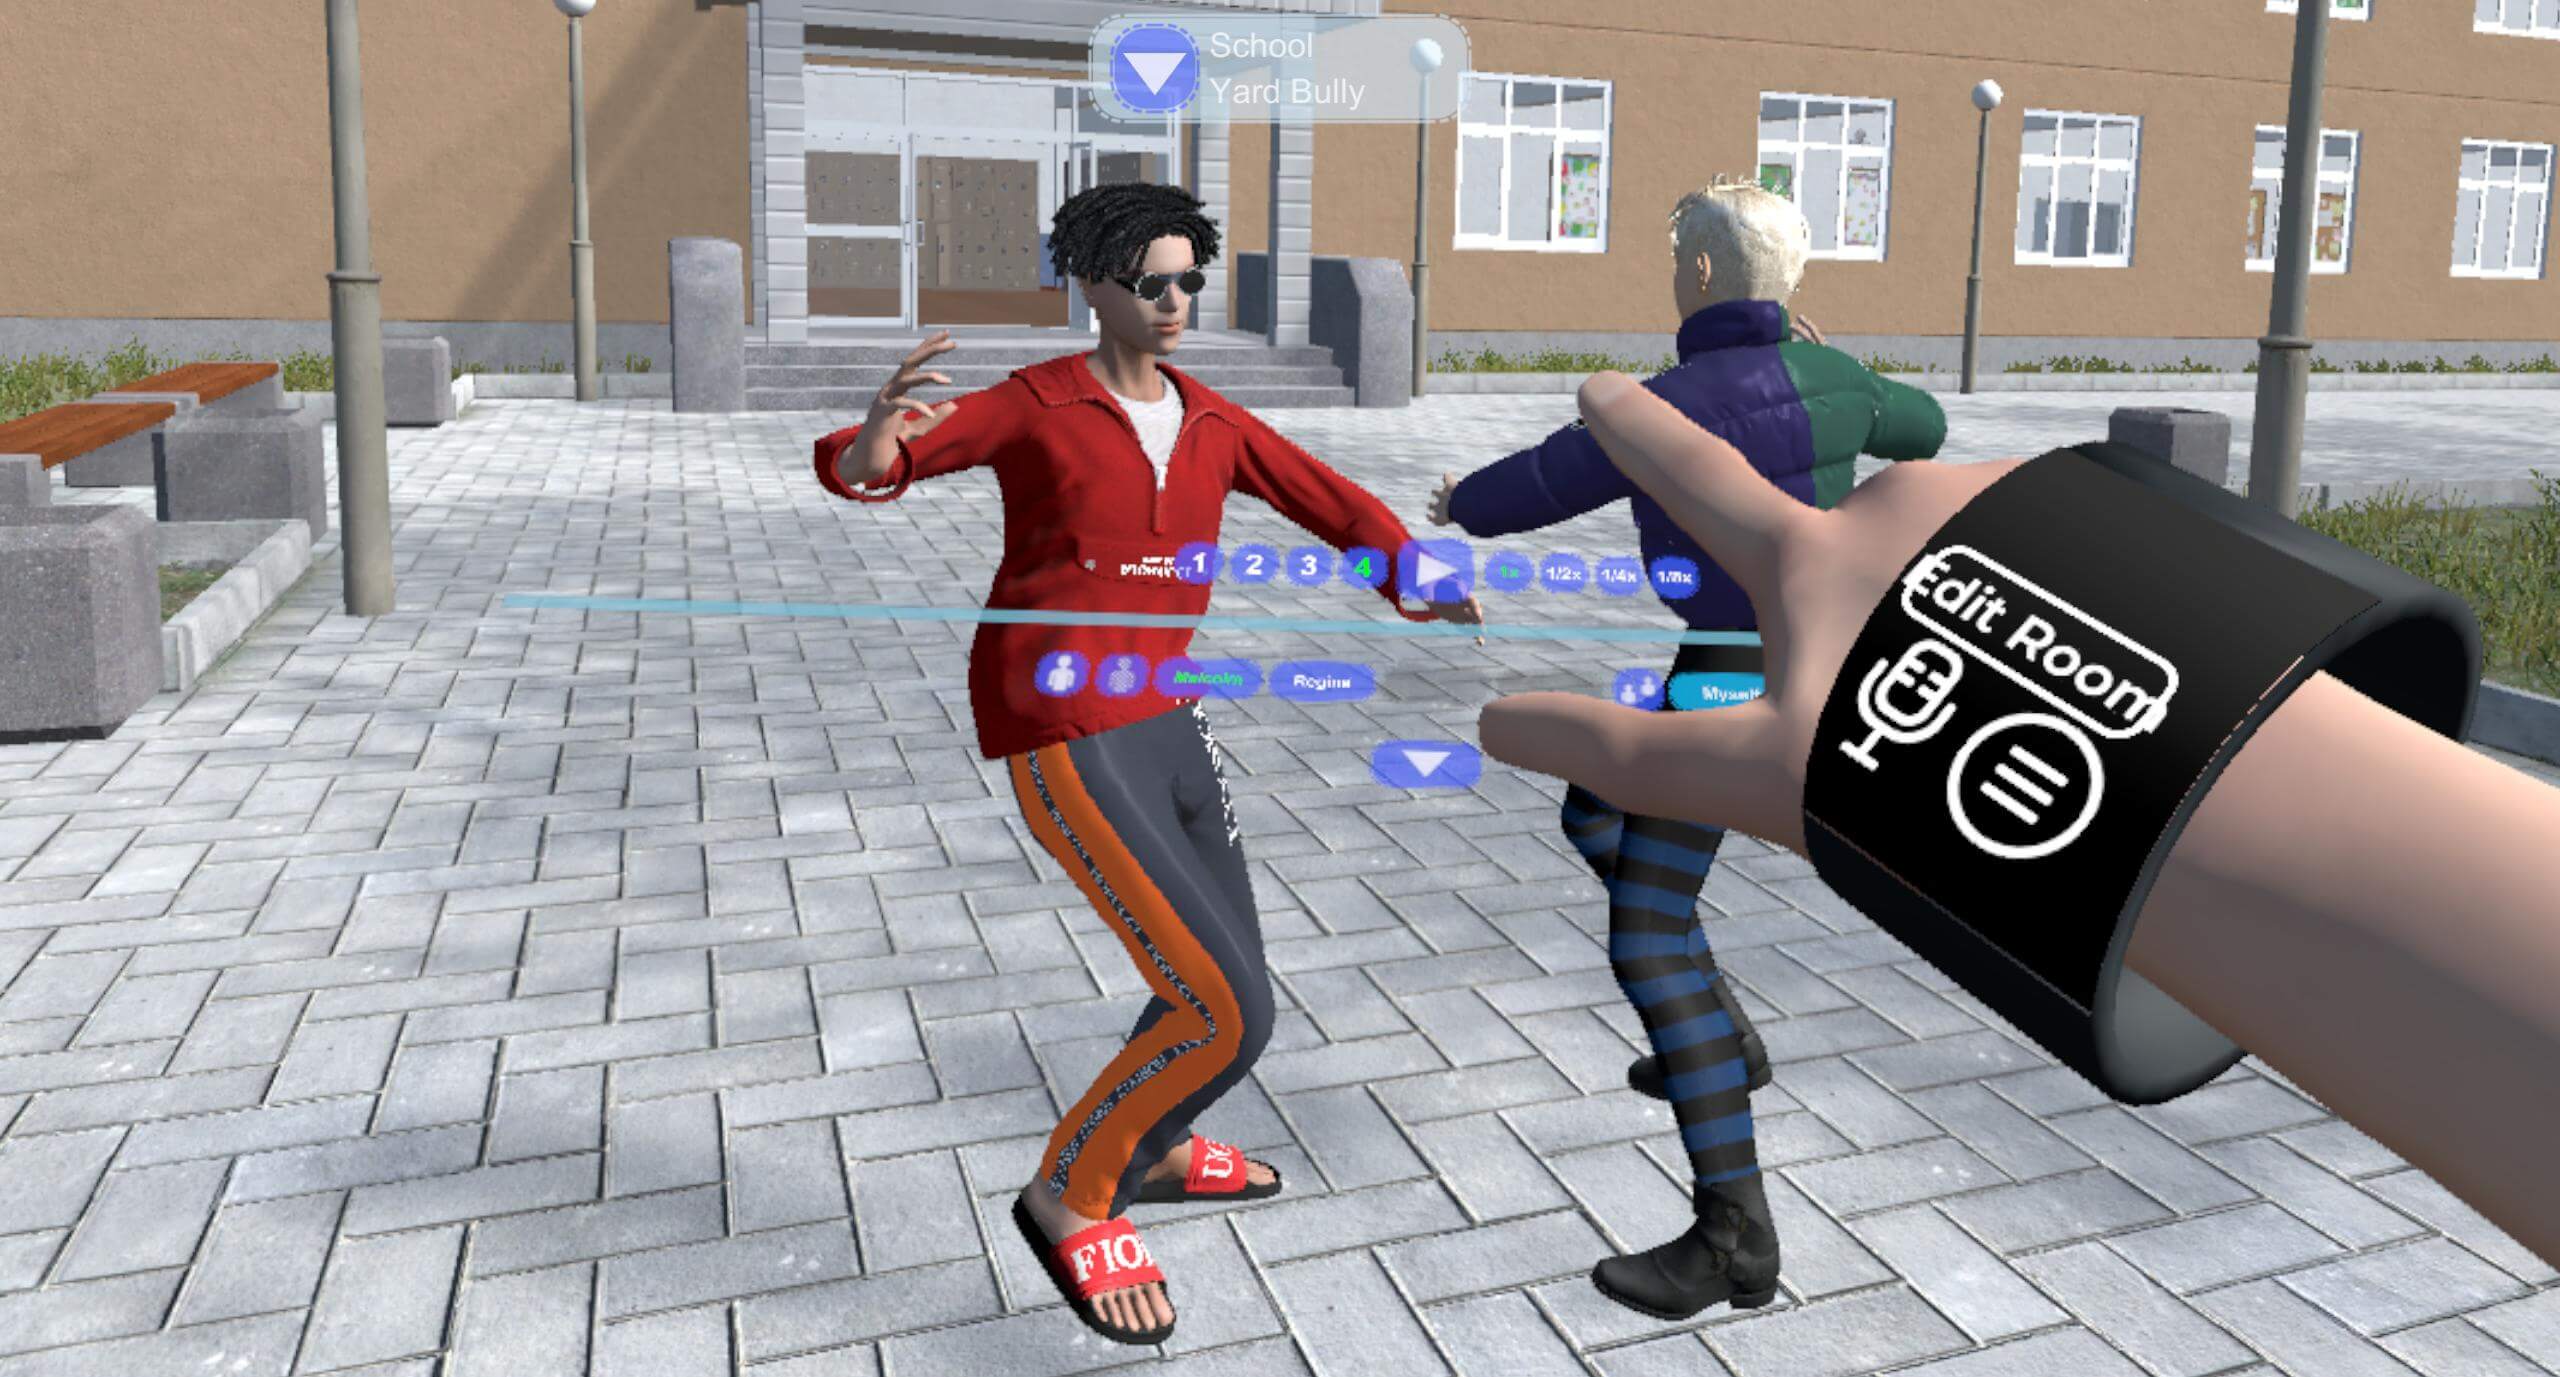
For interactive items, quests and vehicles, simply click on the item to interact with it. Quests will have blue ! marks. Interactive items will highlight blue and say clickable when hovered over. When you spawn a vehicle in-world, simply click on the vehicle and choose Drive to drive it.

The basic camera controls are:
We have a lot more camera controls including a free fly cam mode. You can see these controls in-world on the contextual help pop up on the right-hand side of the screen when you move the camera.
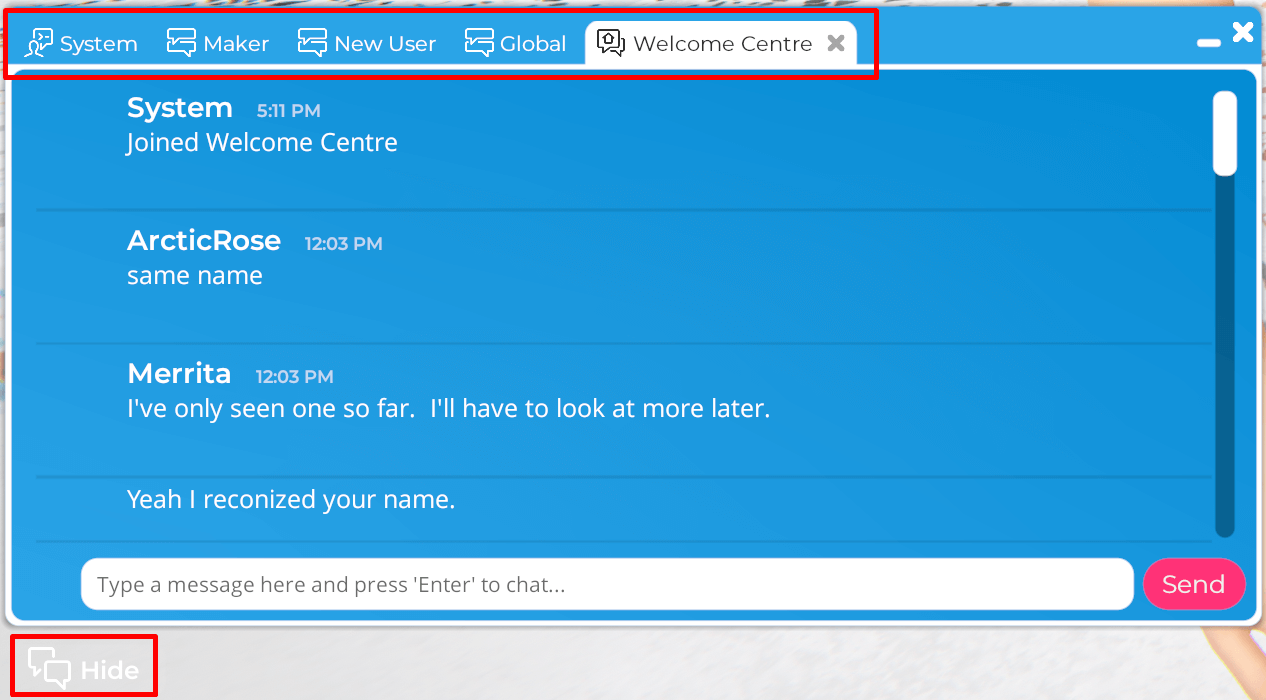
Our chat panel is on the left-hand side of the screen. If you can’t see the panel, click on the Show button on the left-hand side.
To chat, click into the text box on the chat, and type what you want to say. You can either click the Send button, or press Enter on your keyboard to send the message.
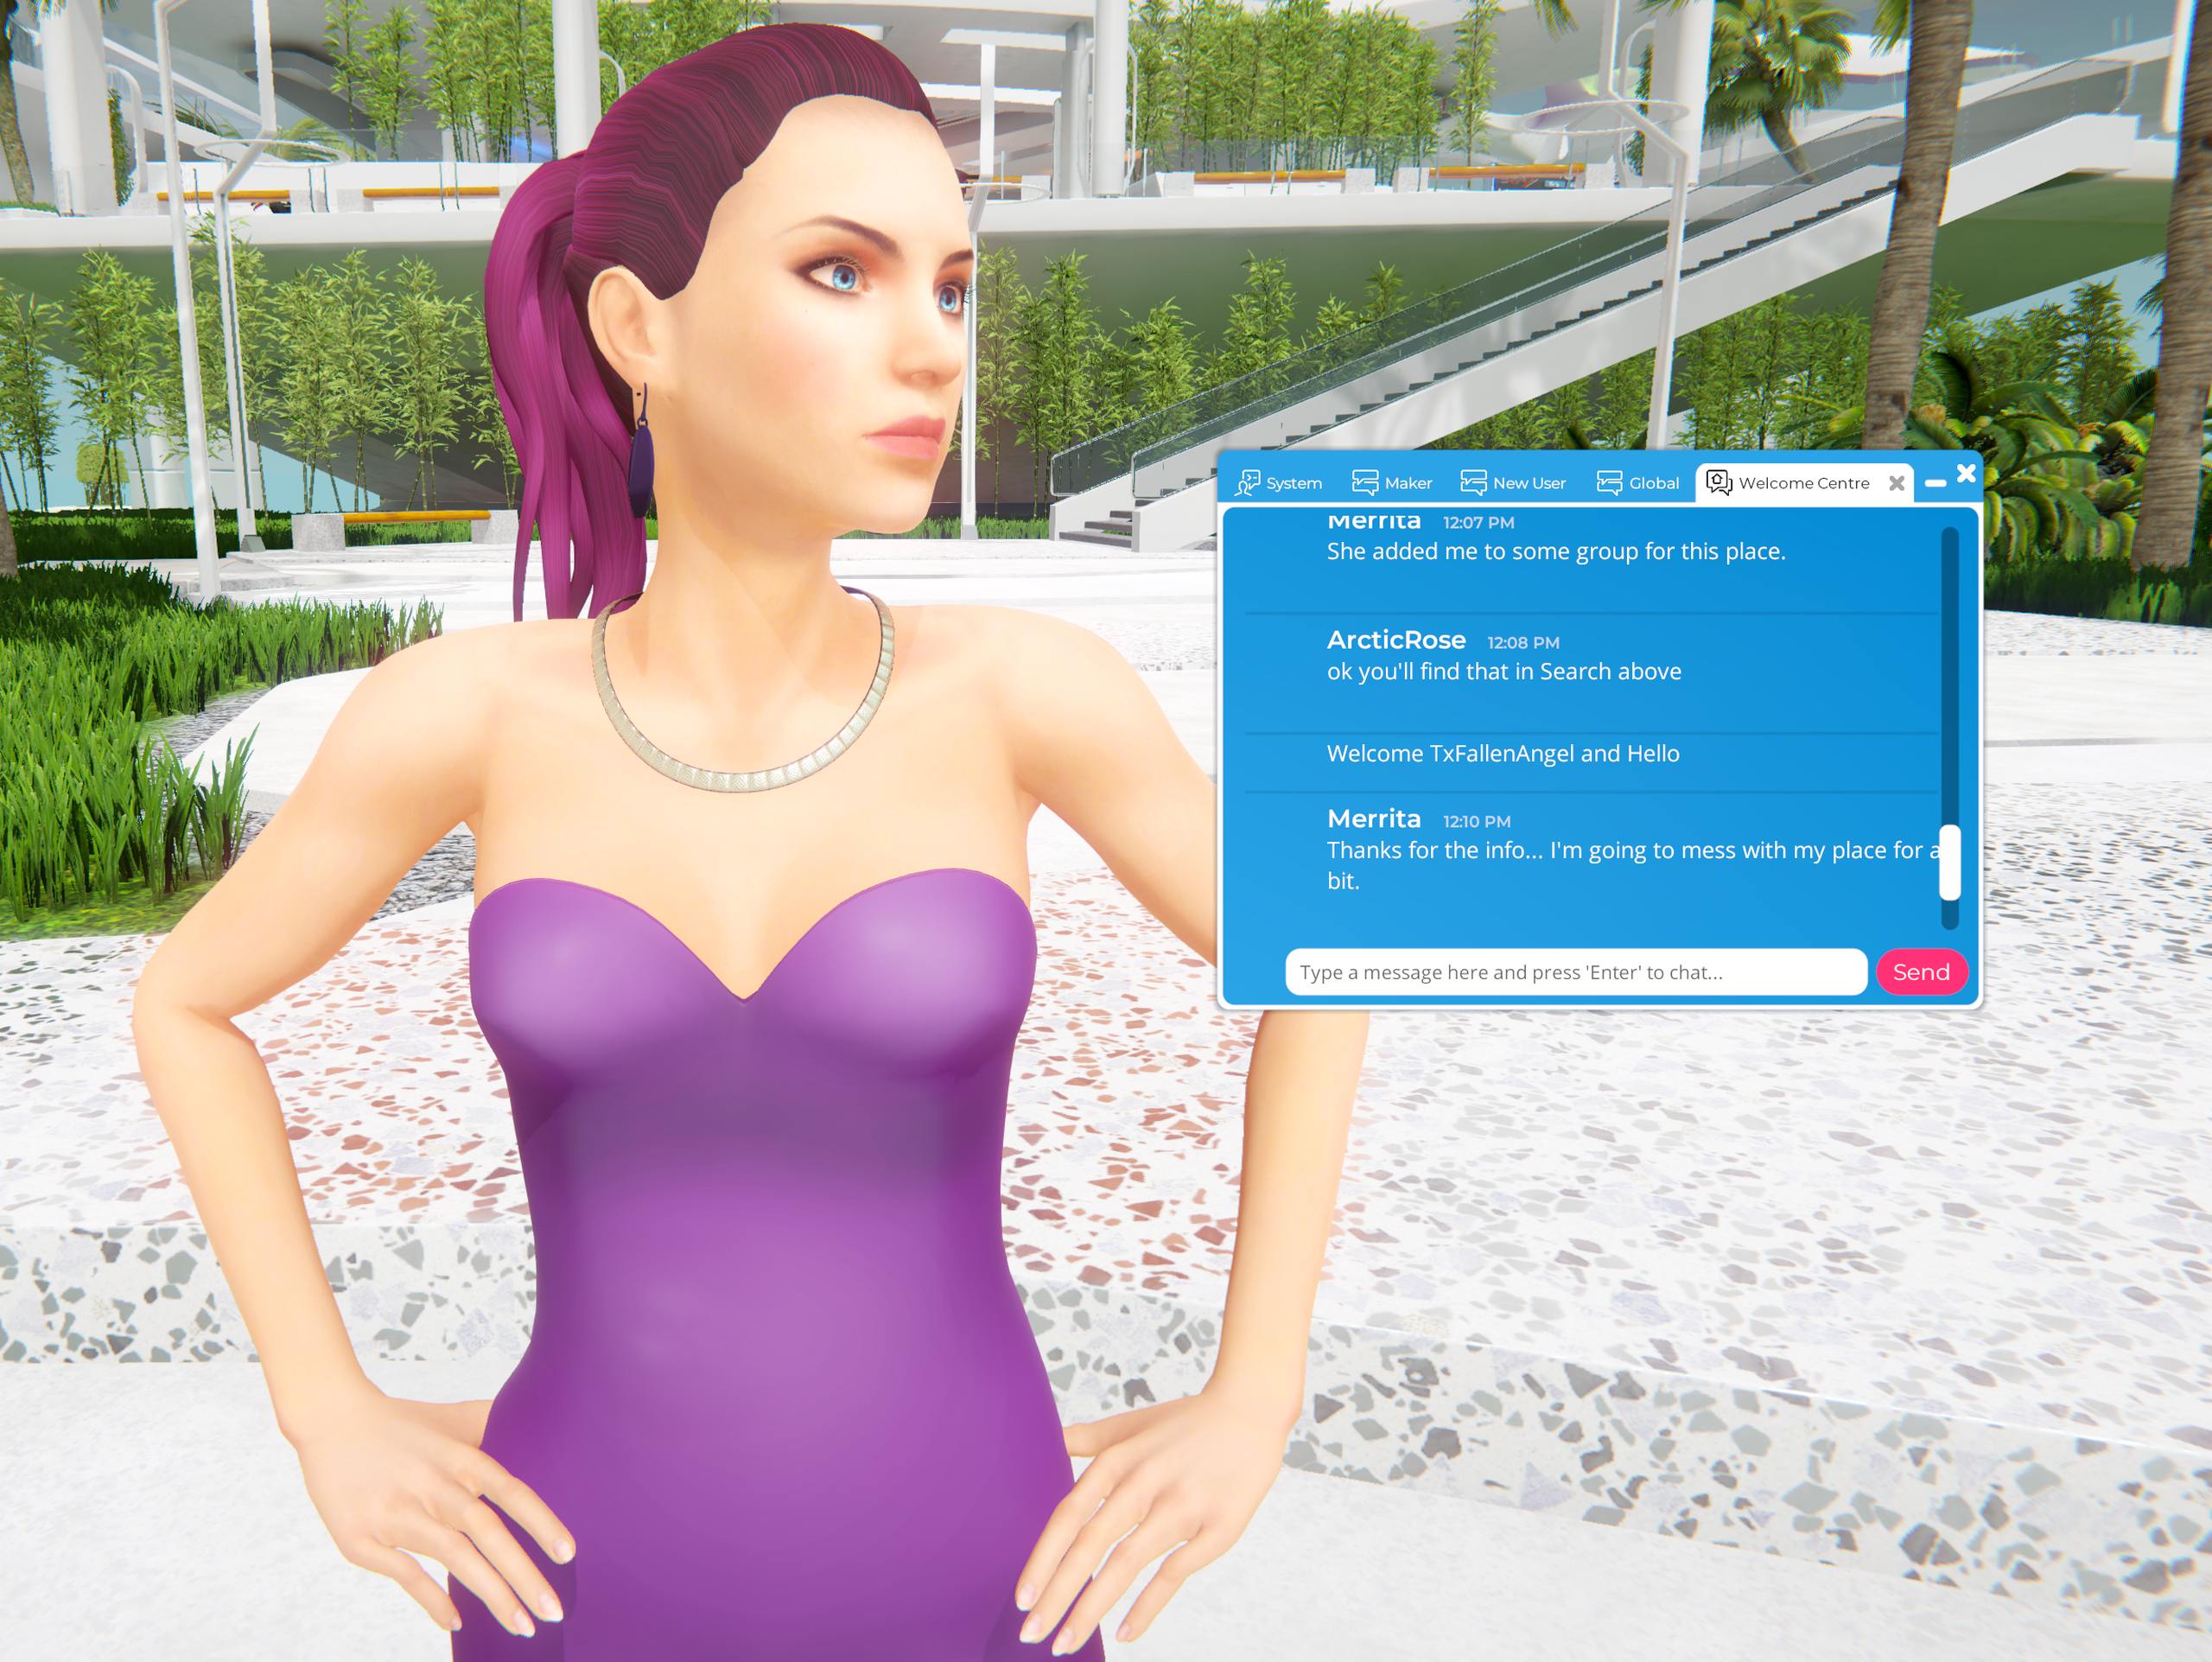
The chat panel contains different chat channels: New User, Global, Maker, and Region. The new user chat is perfect for a new user as you can ask questions in there, and our staff or guides will answer!
The Global chat is visible in every region in Sinespace, meaning you can chat to users everywhere!
The Region chat is specific to the region you are in, e.g. The Welcome Centre chat will only show in the Welcome Centre.
The Maker chat is for Sinespace creators to ask technical questions about uploading/making content.
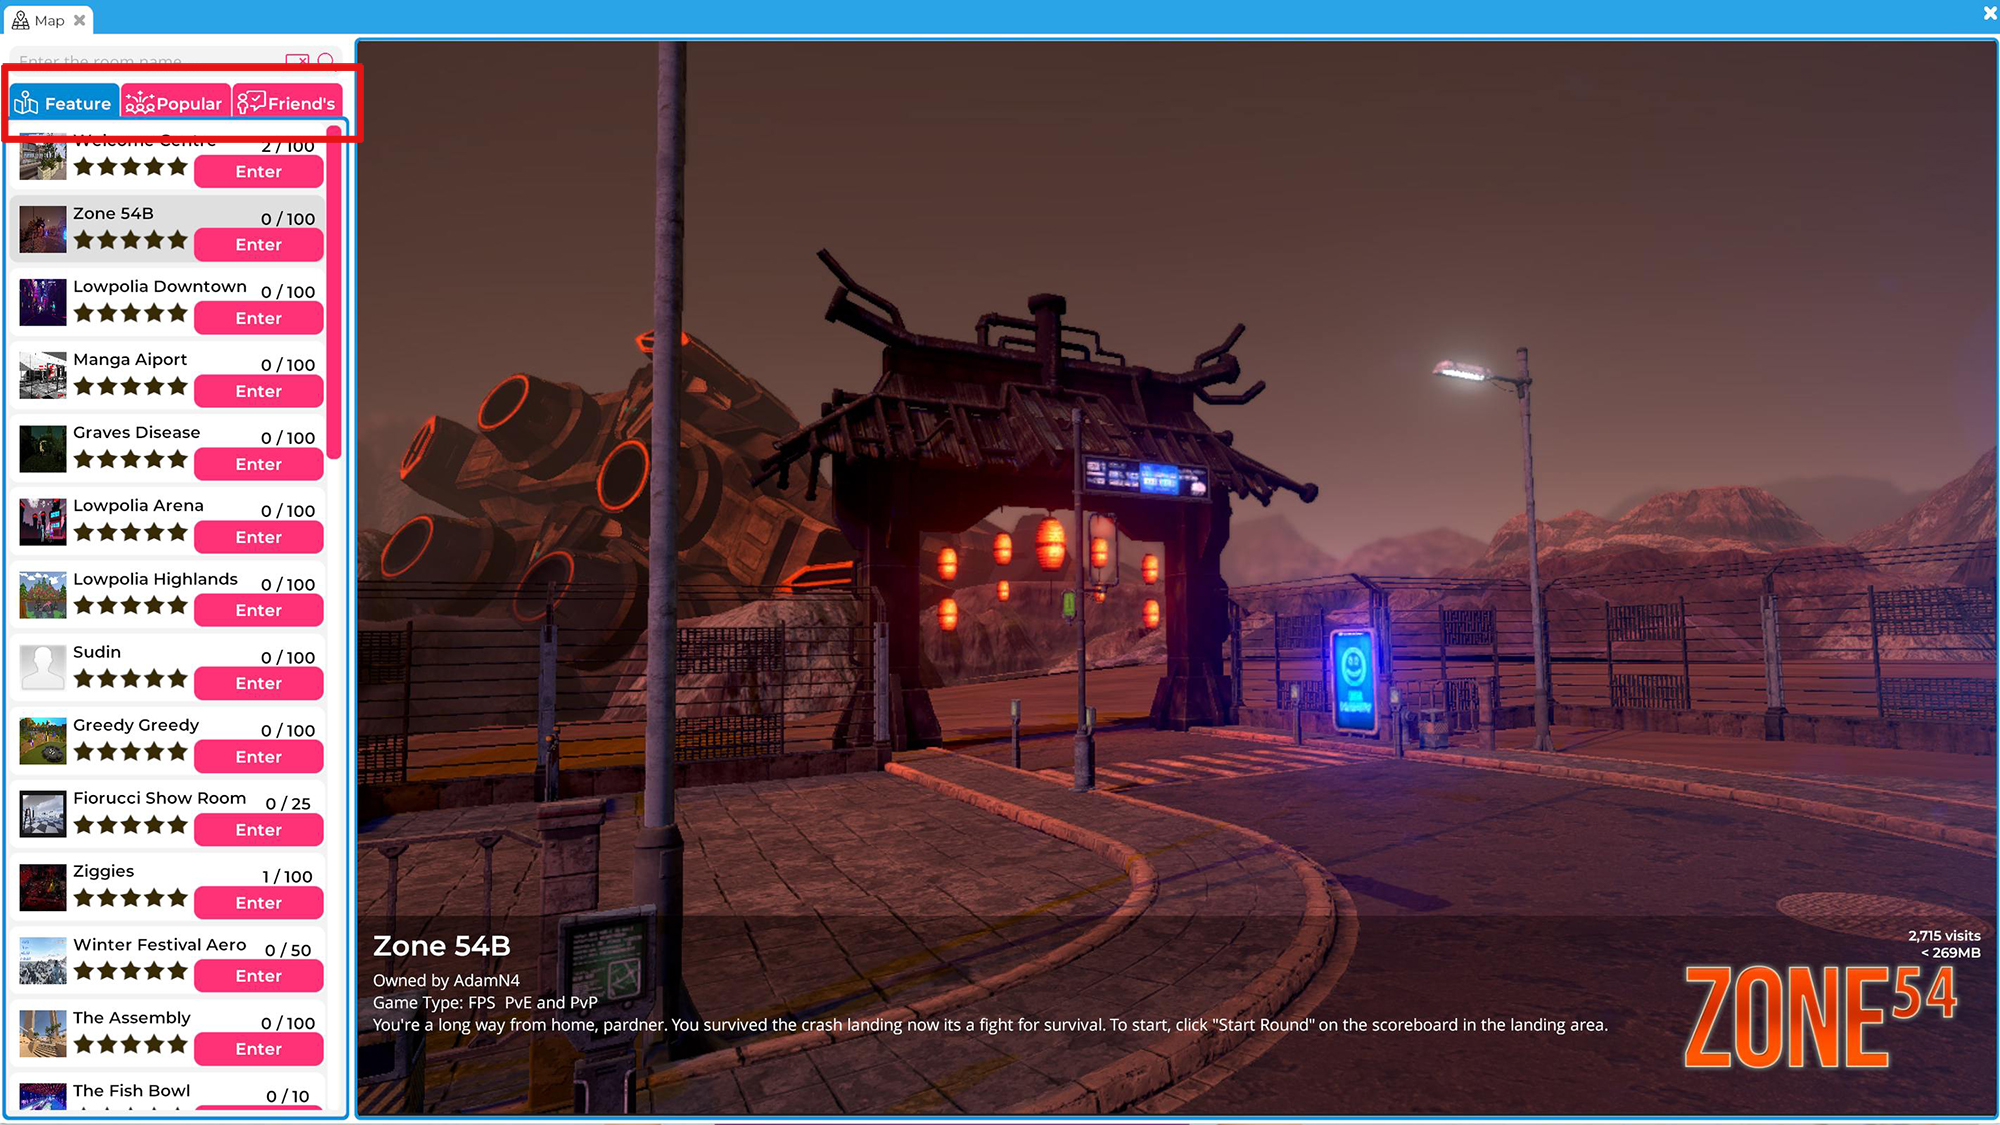
Sinespace is made up of lots of different regions which you can travel to! To travel to these regions, click on the Explore button at the bottom of the screen; this will bring up a full list of all the regions in Sinespace. We have categories for regions:
You can choose a region from these categories and click on the Enter button to travel to them.
Some regions are also accessible via portals. There are for example portals to our FPS regions in the Welcome Centre. You just walk up to the picture of the region, and it will ask you if you want to go to that region!

Sinespace is compatible with HTC Vive, Open VR, Oculus Rift and WinMR headsets! You can immersive yourself completely with your VR gear by clicking on Settings in-world, then go to the VR settings to enable VR and change settings such as Preferred VR Device, Dominant Hand and VR Adaptive Resolution.
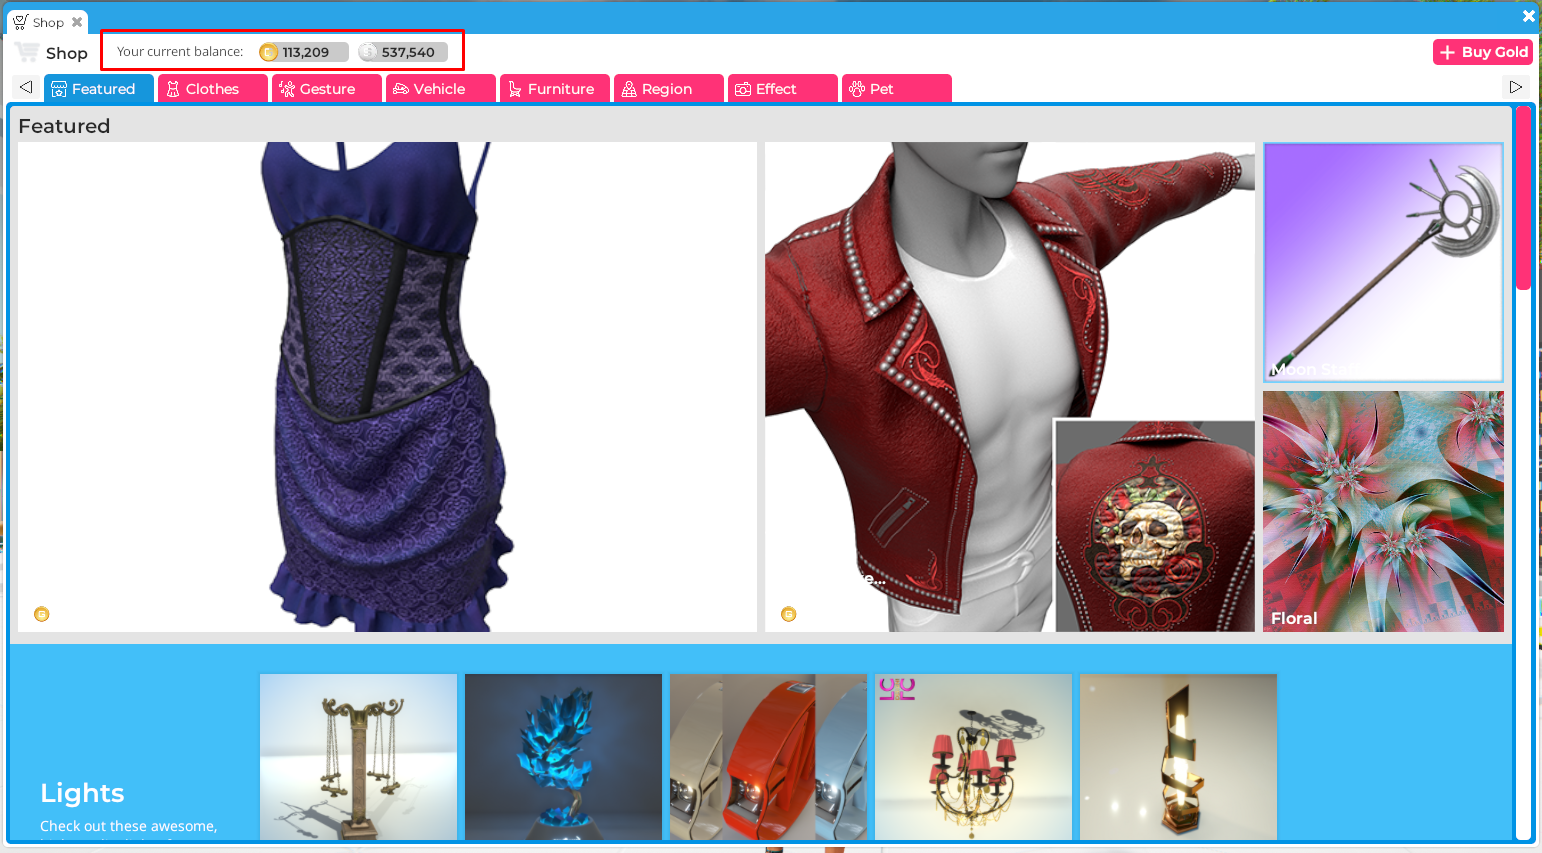
You can shop for avatar items, furniture, gestures, vehicles and more in Sinespace. To buy items in-world, click on the Shop button at the bottom of the screen. This opens the Shop window, which has categories for all the different items you can buy. When you find something you like, click on the item’s picture, and you will be able to preview the item. To buy the item, click on either the Buy Gold or Buy Silver button. Some items in the Shop are only sold for premium currency (Gold) whilst some are sold for Silver, or both Silver and Gold.
You can also buy items from our web-based shop.
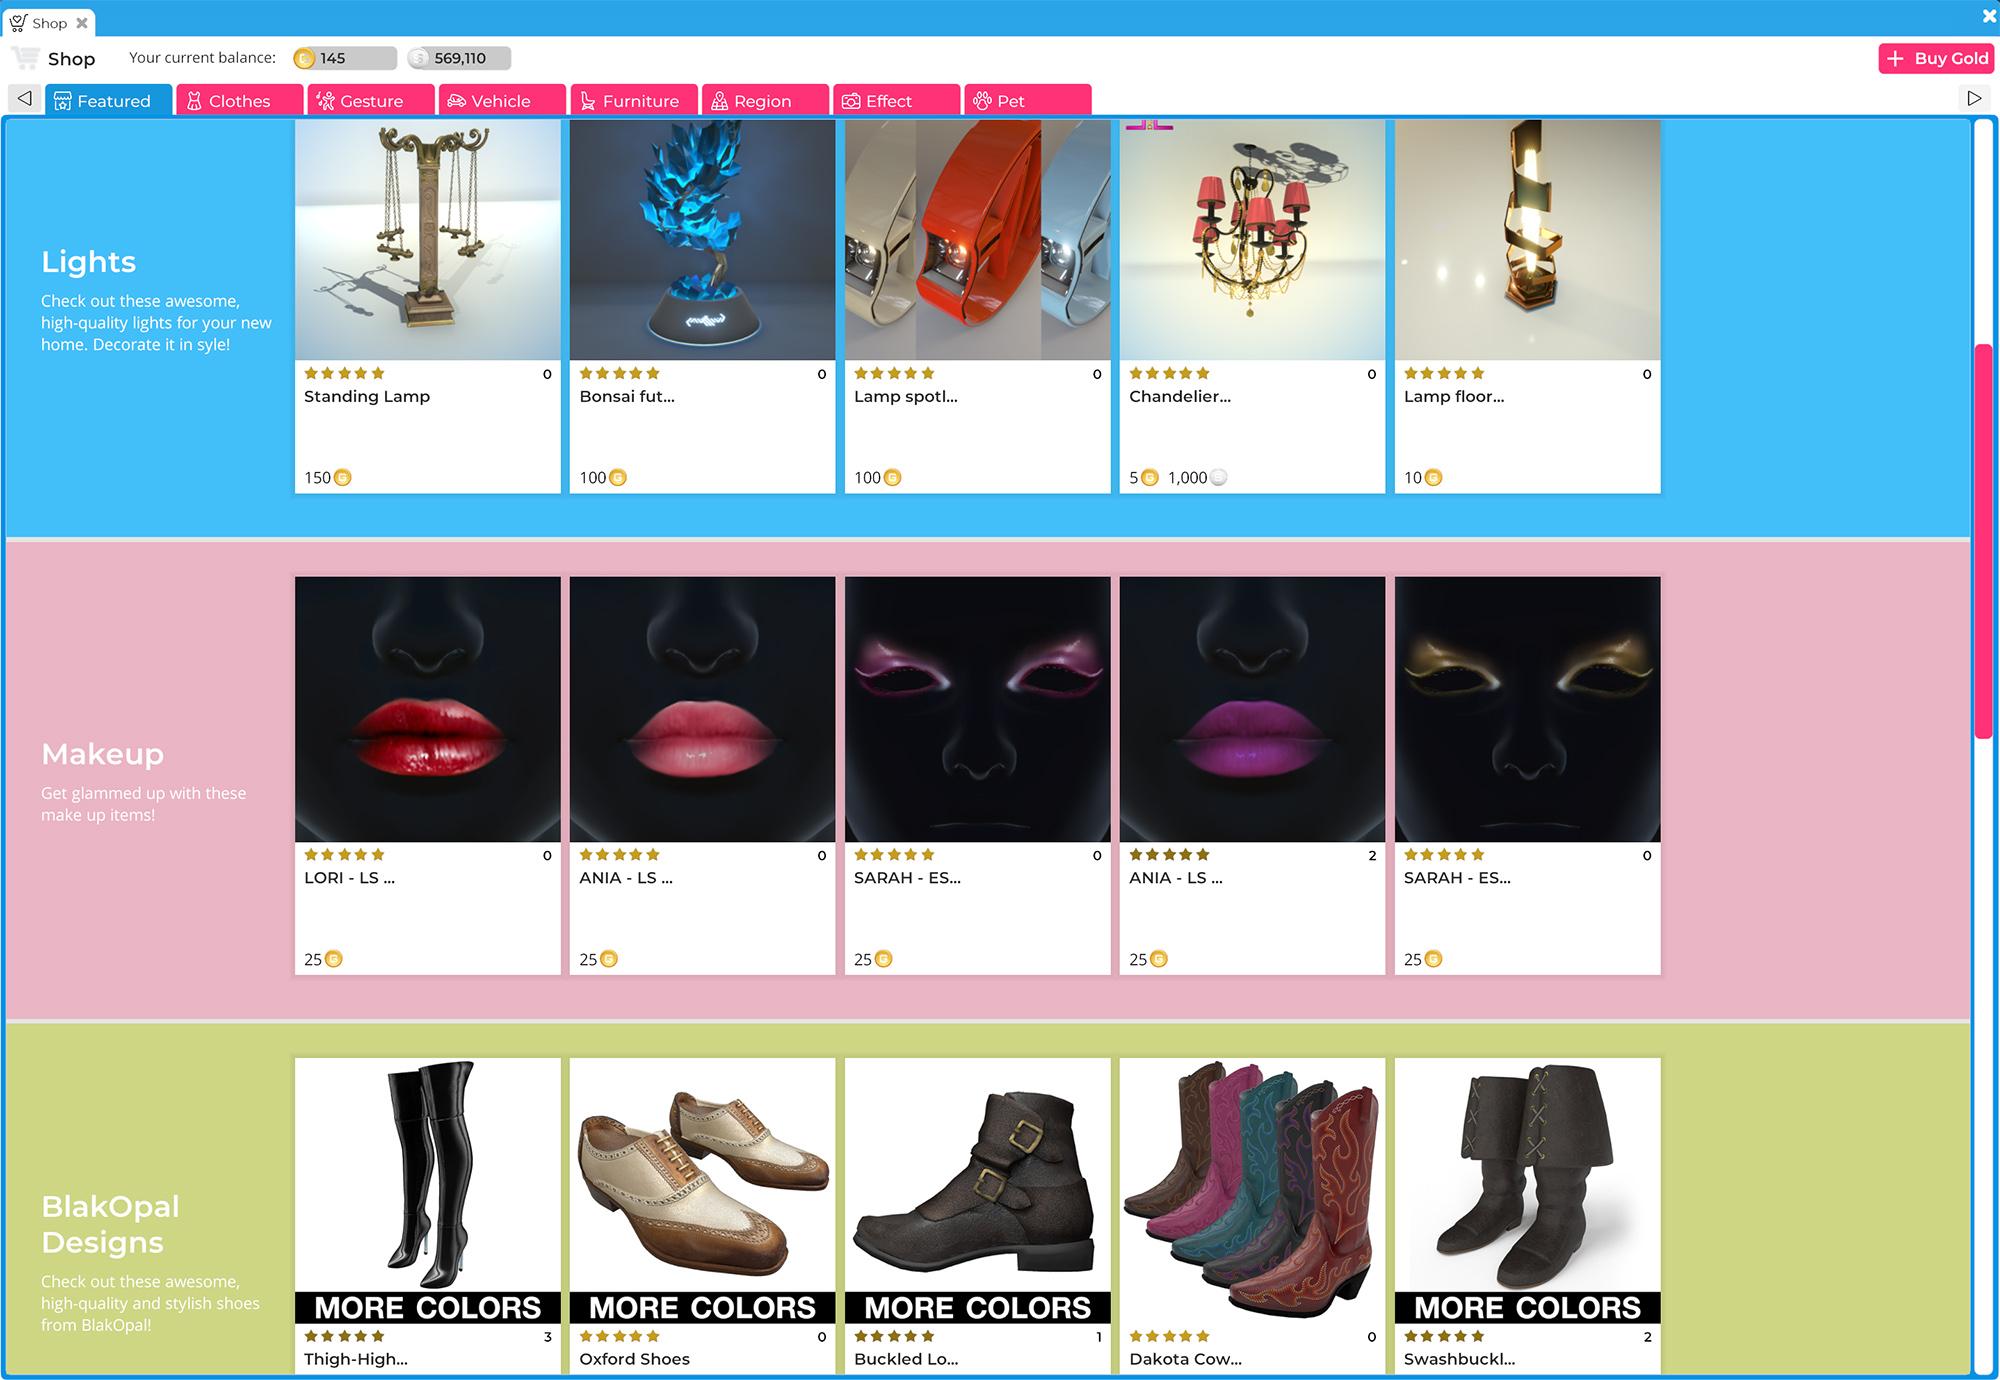
There are two types of currency in Sinespace: Silver and Gold.
Silver is the promotional currency, which you can earn by selling items for Silver, participating in event contests, or by staying in-world for a certain amount of time.
Gold is purchased with USD (US dollars). You can earn Gold by selling items in the Shop for Gold. If you want an item sold only for Gold and not for Silver, set the selling price on the virtual component in Unity to -1 for Silver.

We give every single user a free home region when they sign up. You can travel to your home region by clicking on the Home button, then click on the Enter button of the region.
Once in your home, you can edit the look of it by clicking on the Edit Room button at the bottom of the screen. You can buy new items, designs and more for your home from the Shop.
You can increase the number of regions you have by purchasing a Premium Membership from our Subscription page.
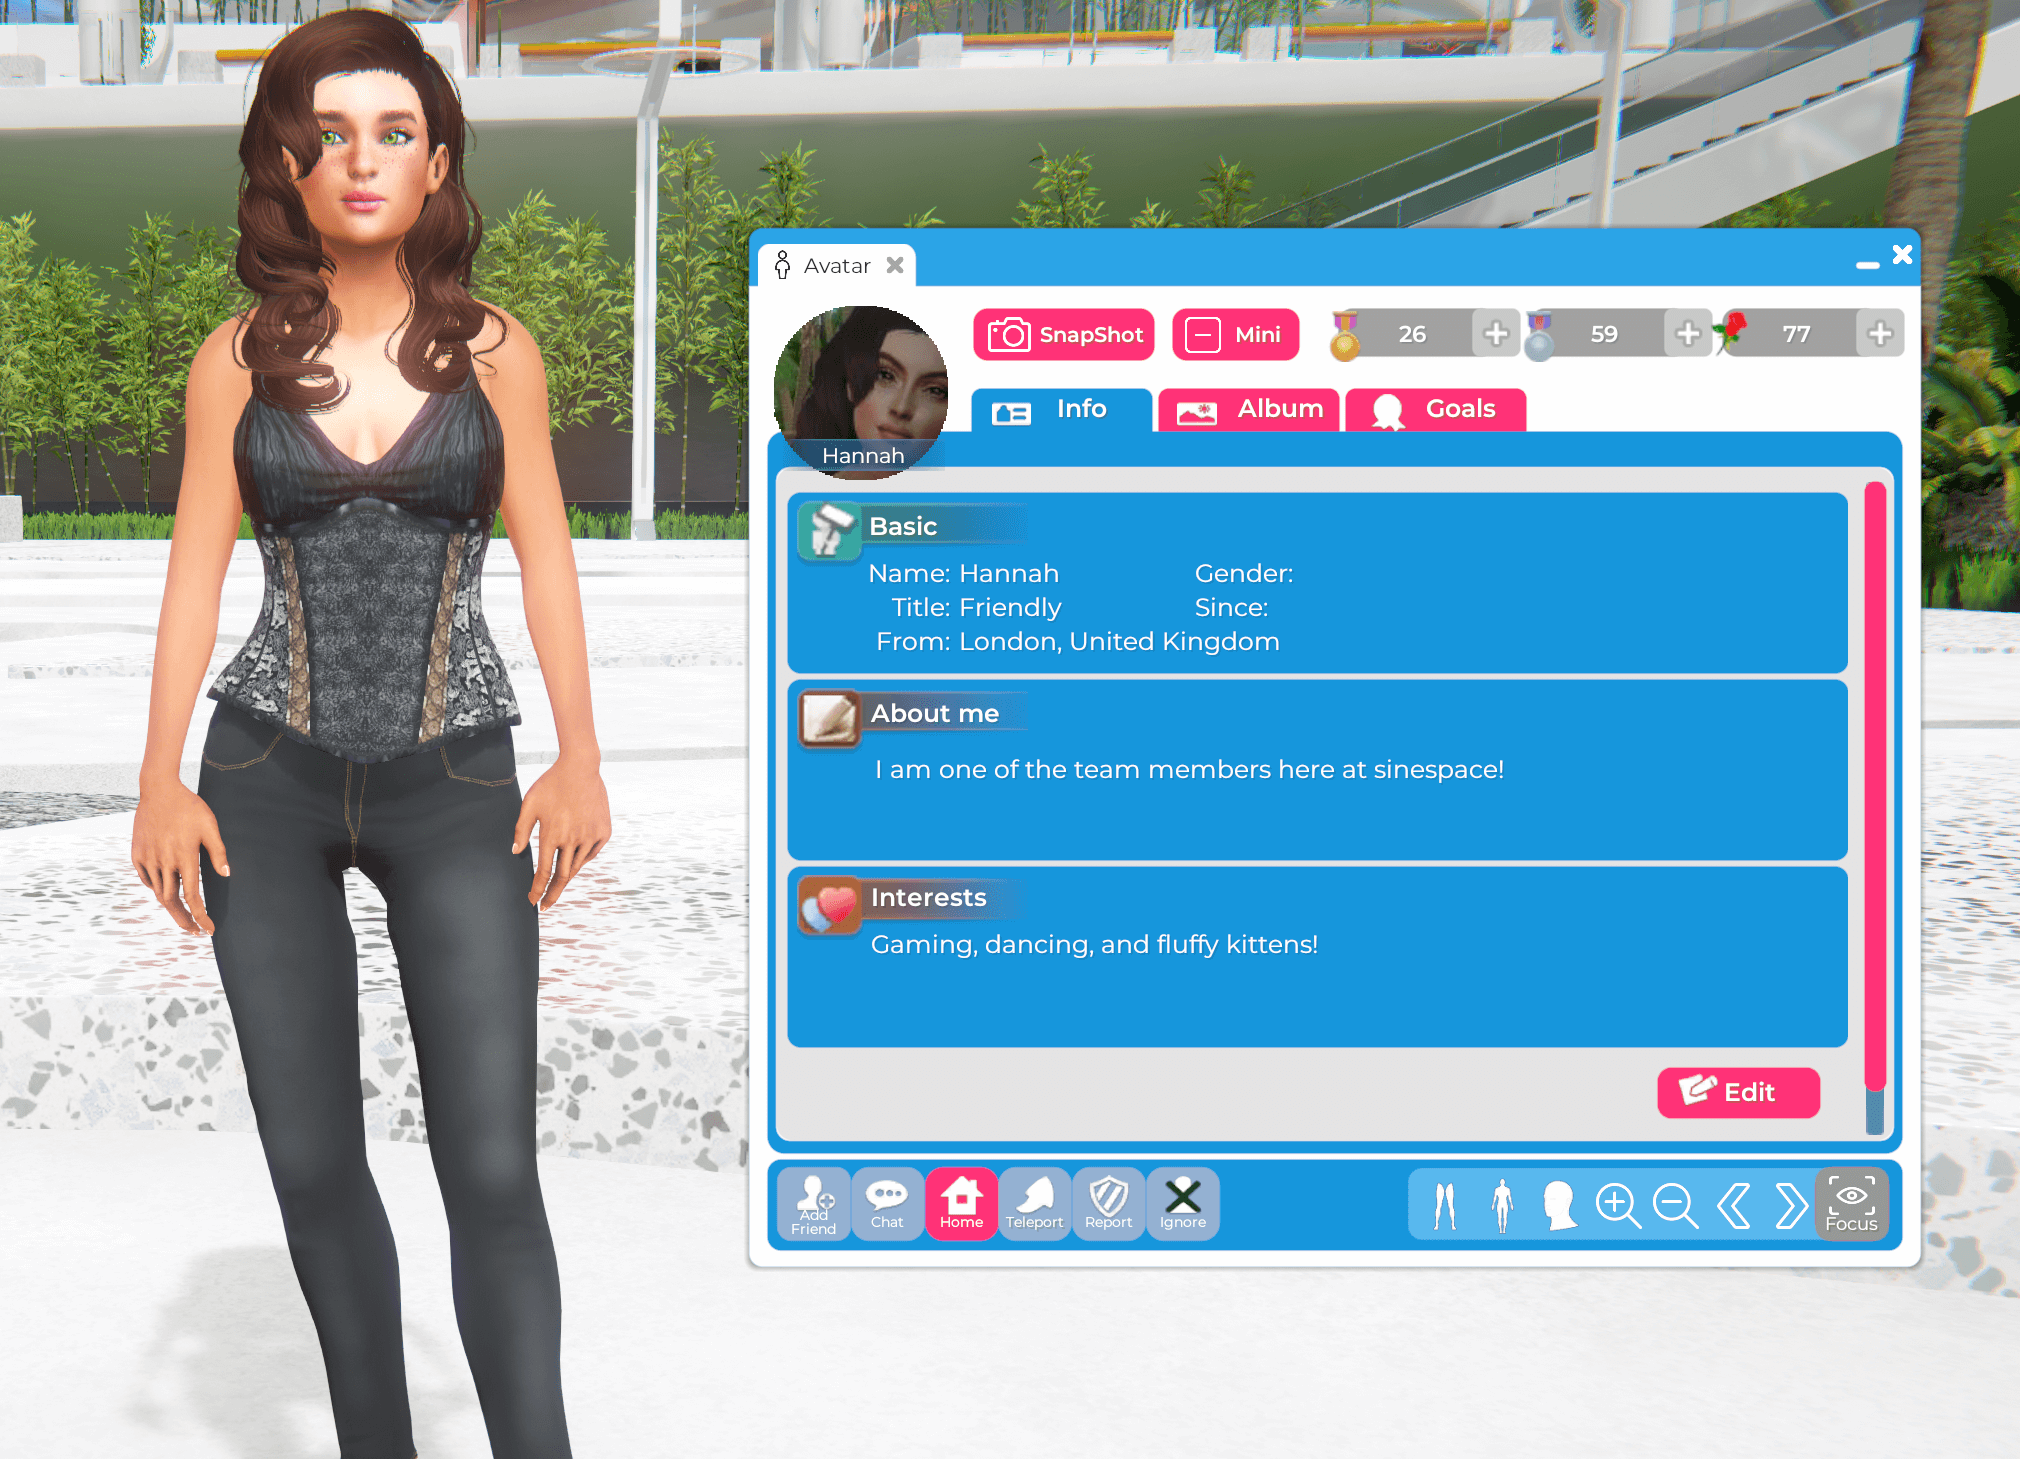
User profiles show you basic information about other users, as well as the clothing items they are wearing. You can also add the user as a friend from their profile.
To see someone’s profile, click on their avatar in-world and a profile pop up will come up on the screen. You can maximize the profile to see more information.
You can join an FPS game or a racing game in Sinespace. You can get to the gaming portals by logging into the Welcome Centre and go to the Explore section. To make your own FPS and racing games in your own regions simply go to the Shop, buy the FPS and racing furniture items, and place them in your region.
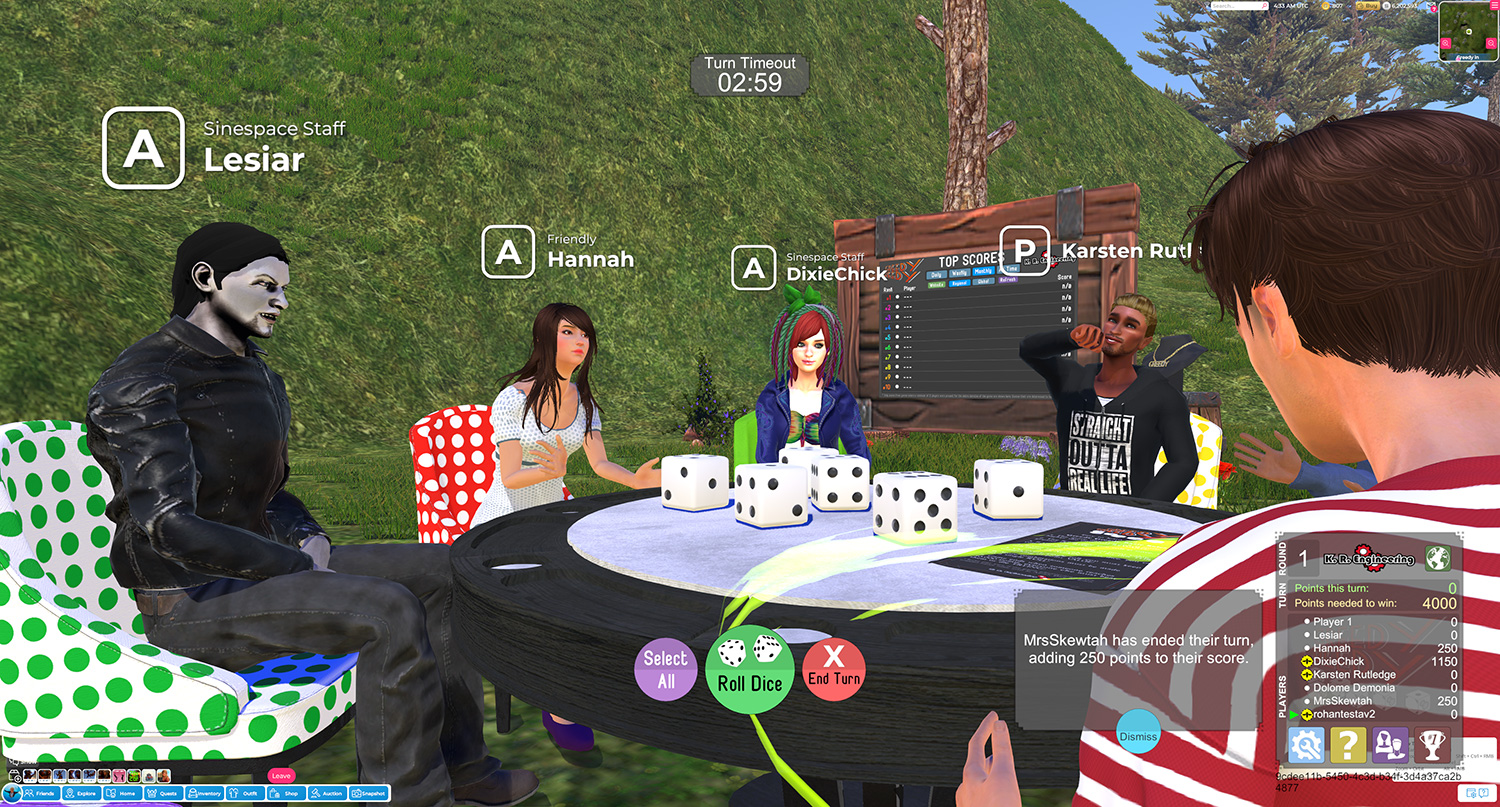
We also have games like volleyball and table games like Greedy Greedy. All the games in Sinespace are made by our users, so more will be added over time.